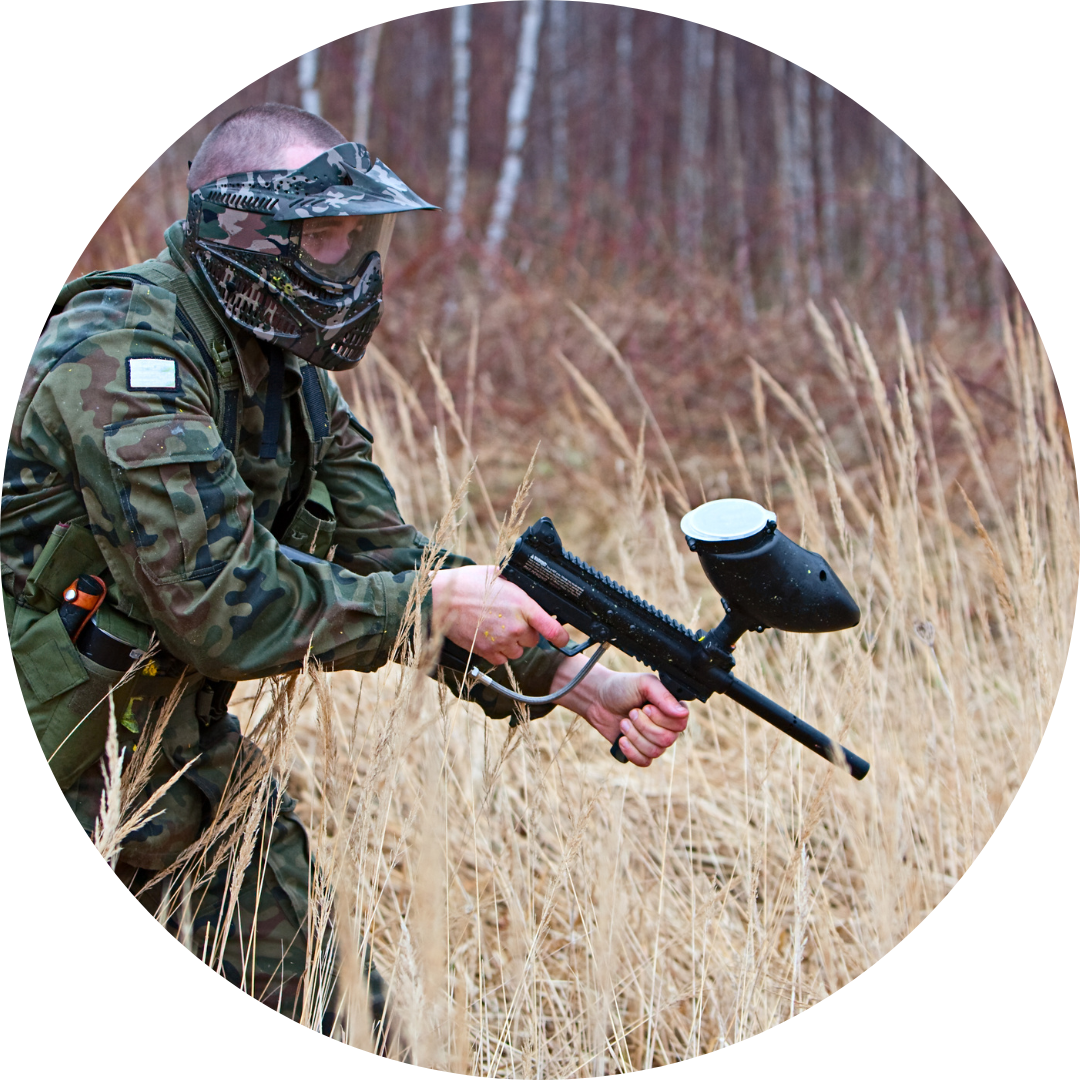
Painted Paintball Mask. You need a paintball mask, and you’ve found one that you like. But it looks pretty dull, so you want to paint it. But how do you go about painting your mask? We’ve put together a simple step process for how to paint a paintball mask with an airbrush.
The basic steps to painting your own paintball mask – Painted Paintball Mask
The first step to painting your own mask is to mask off all the areas that you don’t want paint on. There are lots of ways to do this and it depends on the mask you have, but the most important thing is to get all the edges covered with tape so that there are no areas for the paint to bleed under the tape. This will give you a long-lasting paint job.
The Right Equipment – Painted Paintball Mask
Having the right equipment for the job is critical. I don’t buy new paint every day because it may not last and moreover the price can get pretty pricy. I always buy colors that will last a long time and can come in multiple finishes.
The Right Primer – Painted Paintball Mask
It is always wise to use the same primer every time and not include more than you need in the color so that you don’t mix your paints. When primer is used consistently it doesn’t run or pool.
Textures and Varnishes – Painted Paintball Mask
The next step is to paint the materials you have. I always use polyurethane as it is inexpensive and it has good coverage. It can also be primed with a paint thinner and then sanded for clean-looking surfaces. It can also be true that the correct way to do this is to do it with a flat finish as well and then add the textures and finishes, but that’s not for this blog.
The next step is the more involved part: sanding and stripping down the mask. When you are done, there will be a beautiful mask on your hands that you can show off to your clients. Here are a few tips for how to paint your custom mask.
Paint the Inside First – Painted Paintball Mask
You want to paint the inside of the mask first to cinch the seams as much as possible and to give the mask a professional finish. This should only be done with primer and to cover the openings completely with masking tape.
How to clean your paintball mask before painting it – Painted Paintball Mask
To clean your mask, we recommend using paintball gun cleaner, which you can find at your local paintball store. This is a specially formulated cleaner that won’t leave a residue on your mask. It’s a quick shot of another chemical reaction that dissolves old gunk and gunk that can cause a film to form on your mask and cause air leaks. After that, there are a few other common mask cleaners that you may find; we recommend trying out plastic blade rinse or dishwasher-safe dishwashing liquid. All of these will accomplish the same goal: clearing away the gunk.
How to apply the base-coat (paint) to your paintball mask – Painted Paintball Mask
Here’s how to apply your base coat to your paintball mask to protect it.
1) Clean the surface you’re applying your base-coat to.
2) Shake the can well.
3) Shake it again.
4) Shake it one more time.
5) Pull the trigger and hold it down to release a thin coat of paint.
6) Carefully lift the mask over your head and let the excess paint drip off.
Outdoor Paint – Painted Paintball Mask
Here are the paints, formulas, and tips for applying your paint to the big outdoor spaces.
1) Primer: Use a 5-watt idea man primer to cover the desired area.
2) Liquid Base: Use a lacquer thinner to thin the paint as you fill in areas.
3) Primer and Liquid Base: Let the liquid set for a minute, then apply the clear coat.
4) Sealant: If you don’t want to cover your walls with a sealant, try layering the paint with a spackle.
5) Gel Paint: As with the primer and liquid base, let the paint set for a minute, then apply the clear coat.
6) Using Liquid or Gel Paint: Let the paint set for a minute, then apply the clear coat.
Clear Coat As the name suggests, the clear coat is what covers the bare metal after the paint has been set. It comes off easily, but a little goes a very long way — more on that below.
1) With a Q-tip, press down on all the areas of the mask where you’d like the clear coat to show through, then peel up with a Q-stripper or by running the cloth over the areas. Aim for 50% coverage with a Q-stripper: Do not use soap, alcohol, or most acids as they can harm the clear coat.
2) With a paint roller or q-stripper, smooth any rough areas that may have bothered you the most by running a thin, even coat of the clear coat over them.
3) With a clear-coat gun and a roller, start by pushing the clear coat down the internal rails of the gas port, slide backward, then push forward.
Oliver has been a paintball enthusiast since he first stepped on the field at just 11. He quickly joined clubs and teams all throughout New Hampshire! He started Paintball Hive to share his passion and knowledge with other paintball heads out there!